Beekeeping Basics
|


Tags
Posts
2023
2022
November
April
2021
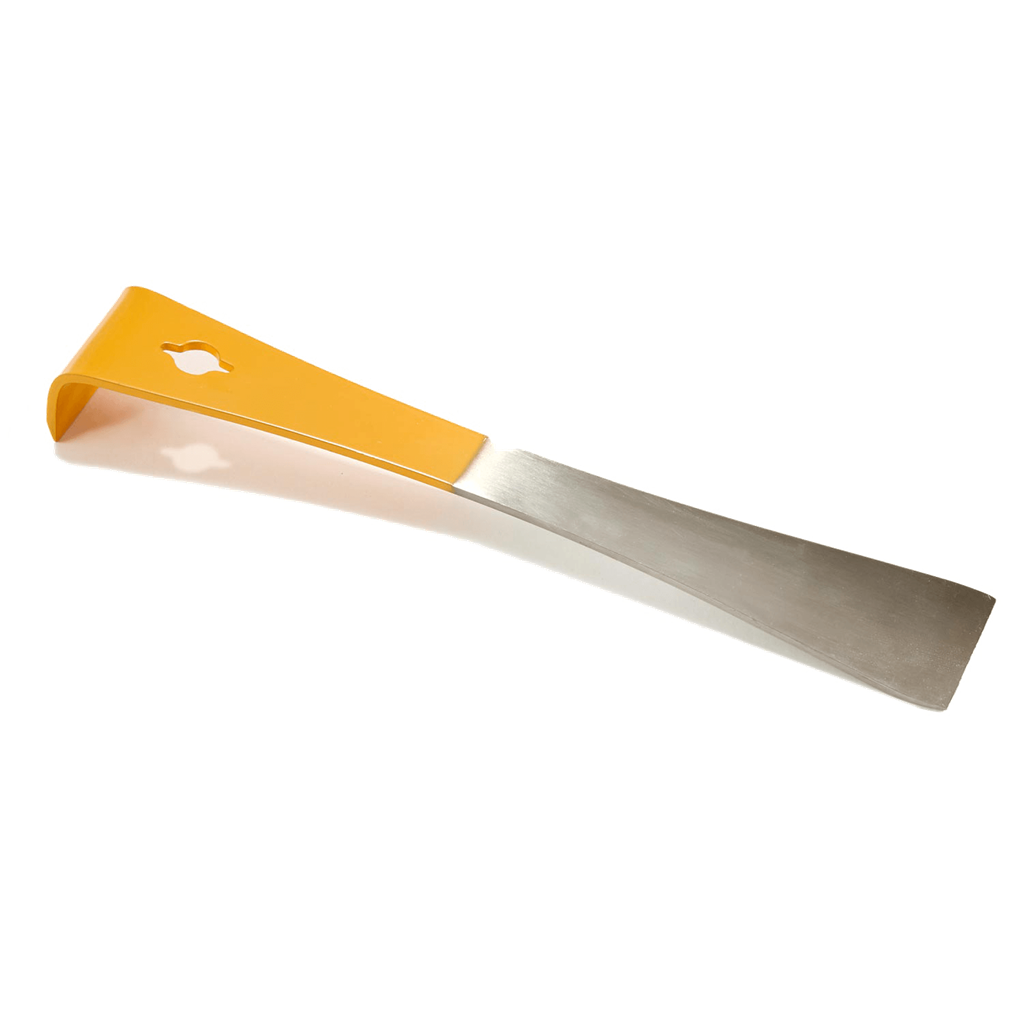
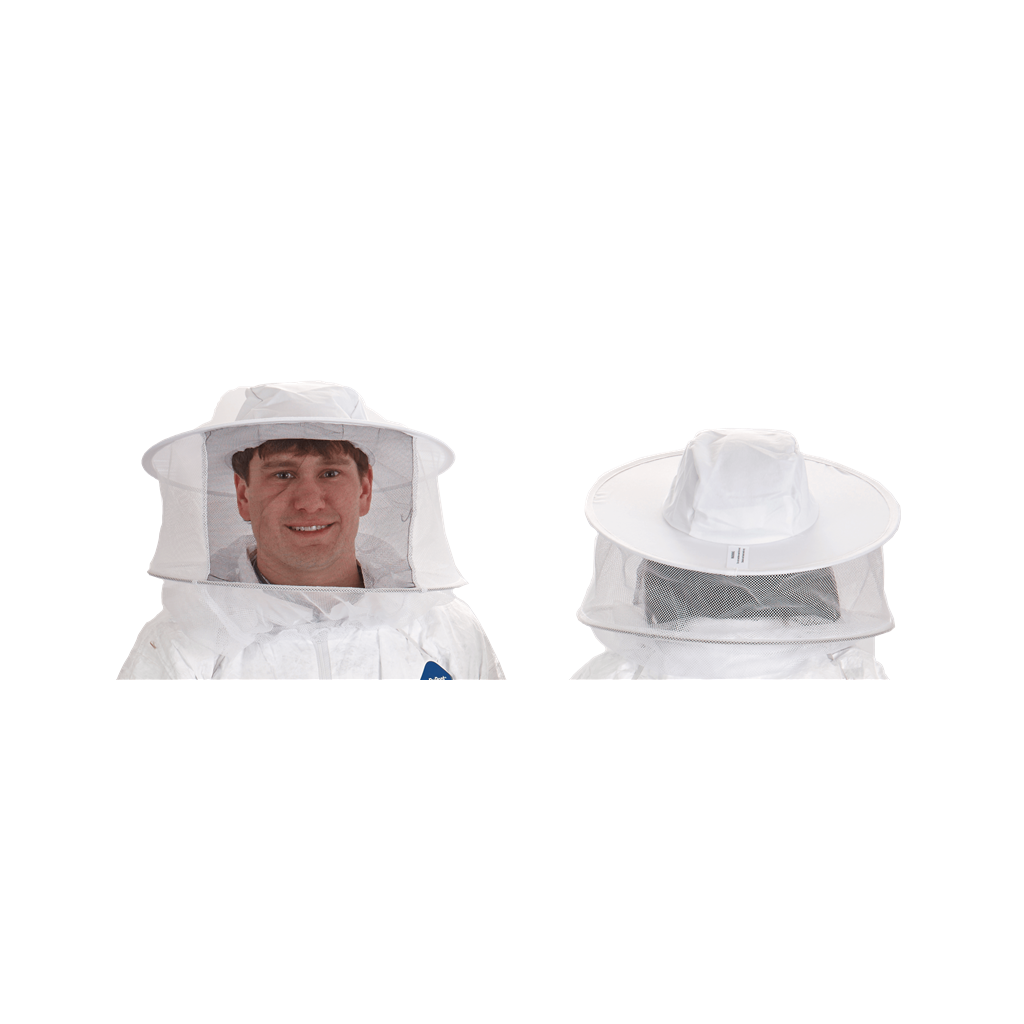
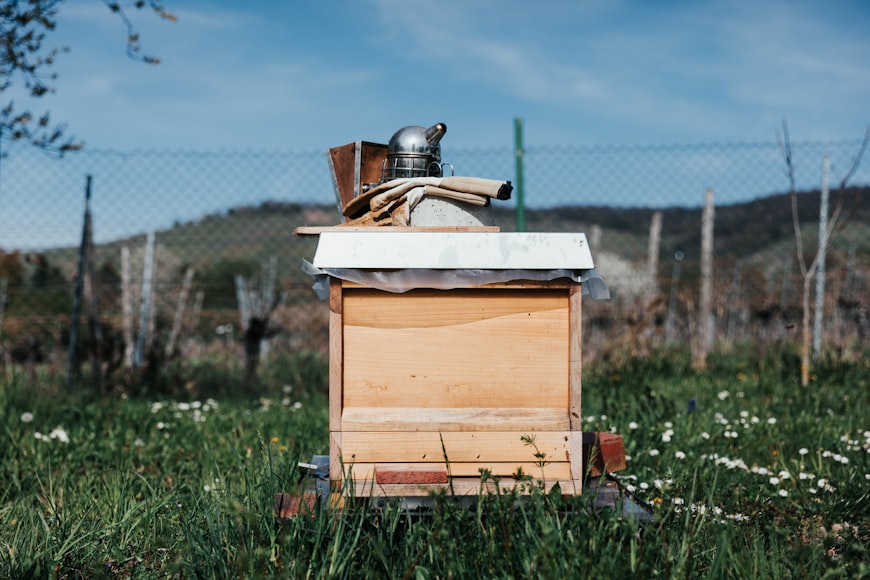
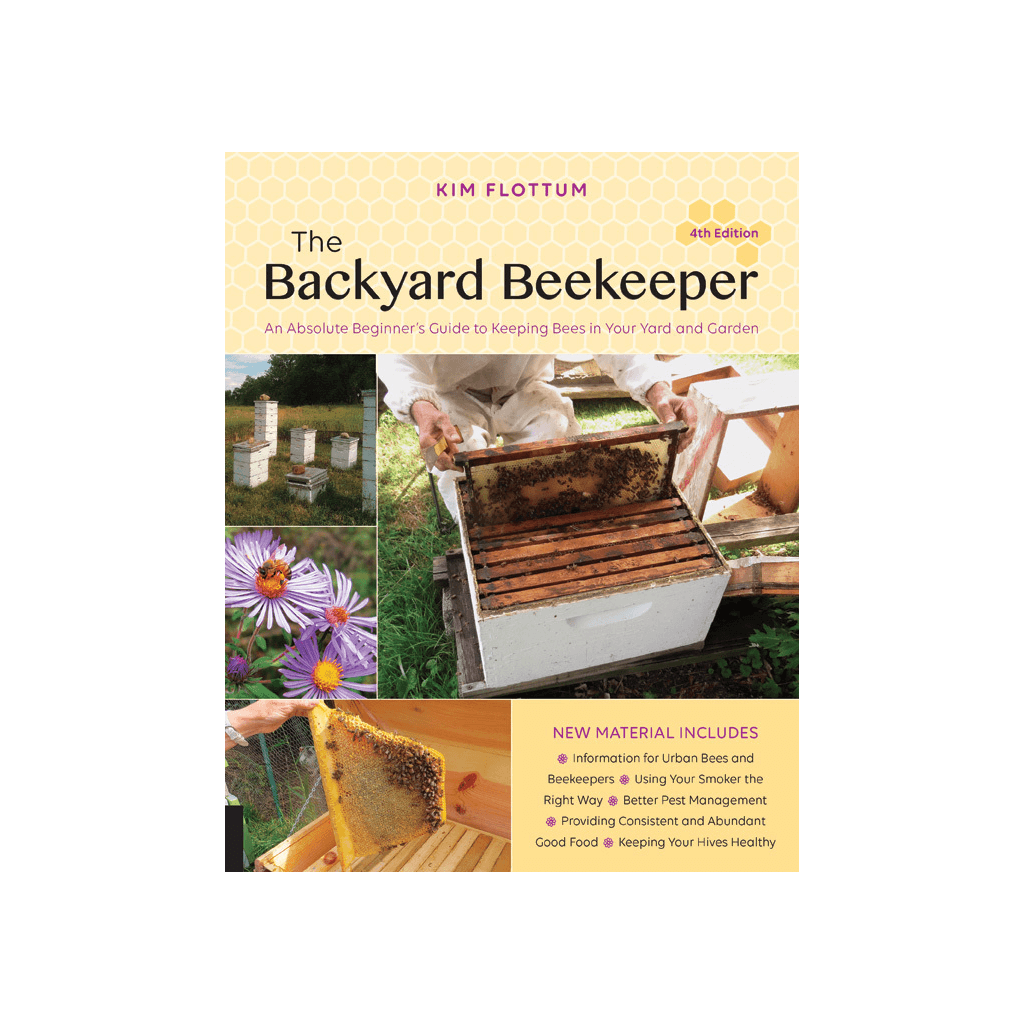
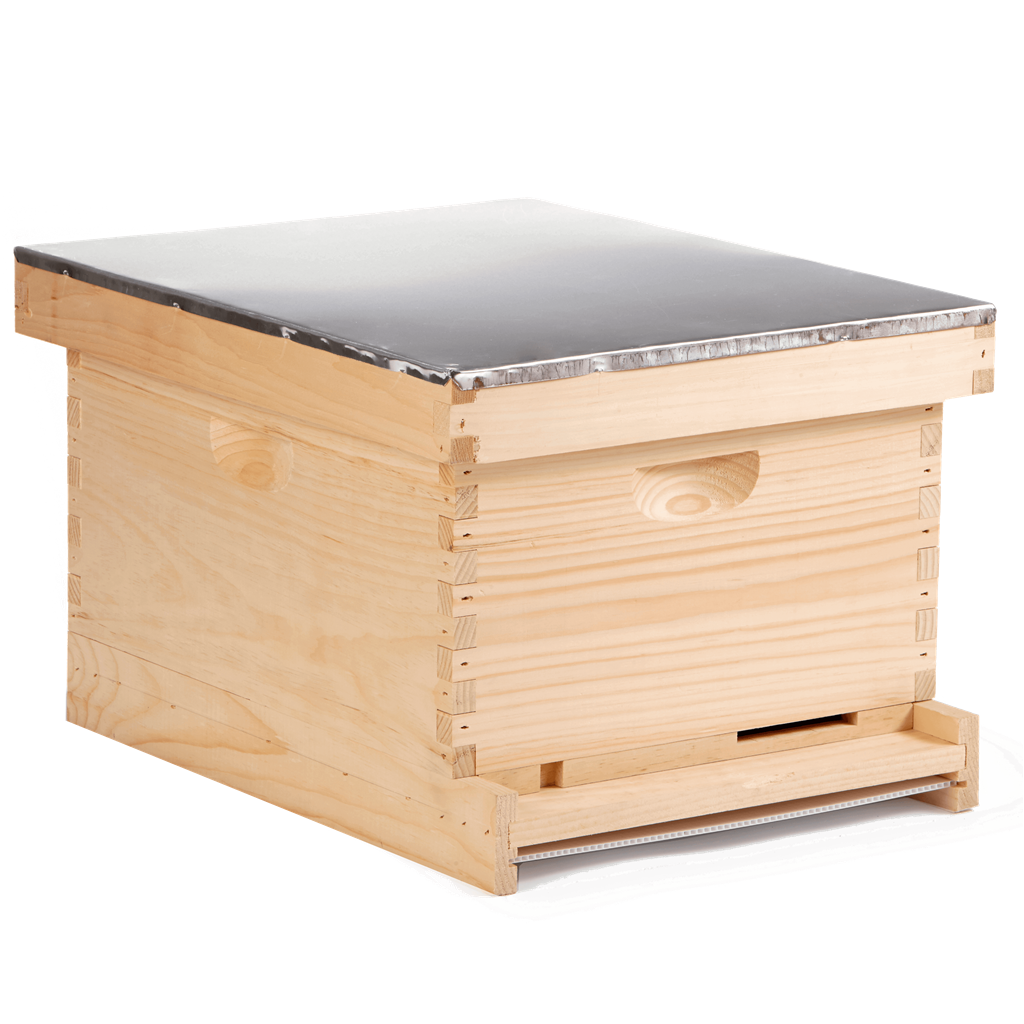
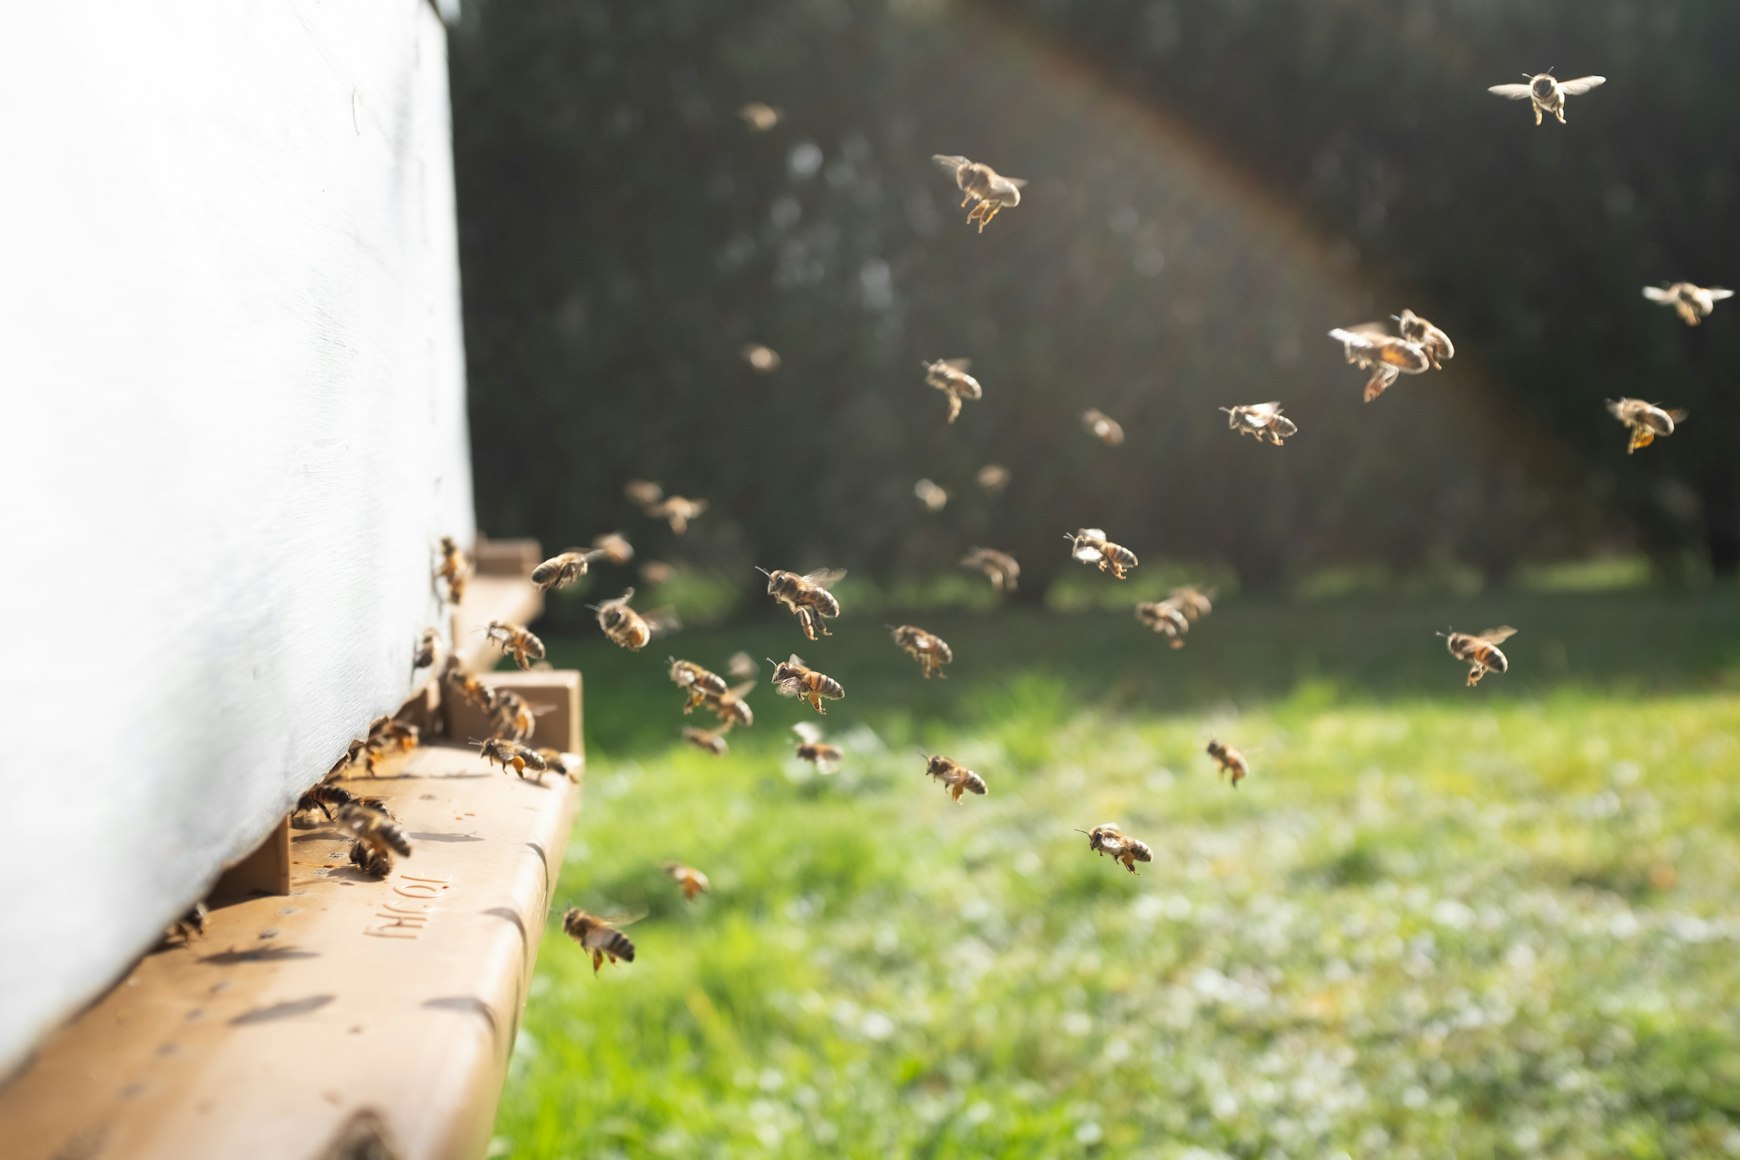
How To: The Basics of Beekeeping
[04/19/22 04:24 PM]
How To: Raising Chickens Pt 2
[04/15/22 12:59 PM]
How To: The Basics of Raising Chicks
[04/14/22 01:07 PM]
NEW - Lonarch
[04/13/22 02:46 PM]
Now Booking NEW Deer Products
[04/12/22 11:05 AM]
National Pet Day
[04/11/22 08:07 AM]
Lyme Disease Prevention Month
[04/01/22 10:40 AM]
March
February
Cattle Pest Control
[02/18/22 12:25 PM]
NEW - Tropiclean Enticers | WPVS
[02/07/22 09:06 AM]
February: Pet Dental Month
[02/01/22 10:35 AM]
January
December
2020
2019
January: National Walk Your Pet Month
[12/27/21 10:35 AM]
NEW - MONSTER MIX
[12/06/21 01:59 PM]
NEW - Pop's Snack Sticks | WPVS
[12/01/21 10:00 AM]
NEW - Bully Performance | WPVS
[12/01/21 09:31 AM]
NEW - Joy Dog Food | WPVS
[12/01/21 09:06 AM]
NEW - Clear Dart | WPVS
[12/01/21 08:26 AM]
August
August
2018
NEW - Taste of the Wild with Ancient Grains
[08/13/19 03:06 PM]
New Pro89 Adult Dog Food
[08/07/19 04:17 PM]
May
NEW Taste of the Wild Feline Recipe
[05/21/19 09:38 AM]
NutriSource Pinkyswear Bags
[05/07/19 04:23 PM]
March
February
January