Browse Categories
(Optional) This text will appear in the inbox preview, but not the email body.
alt_text
alt_text
     Every Spring, many people consider the idea of raising chicks. For some, it’s because they’re “cute.” (They aren’t necessarily WRONG…) For many, the idea of having free access to fresh eggs is what is enticing, so they raise laying hens. Others, who want to know exactly what they’re putting in their body, raise meat hens. Whether you’re raising laying hens or meat hens – or a mixture of the two – there are certain basic steps that should be taken in order to do so successfully and simply.

     Chickens are often said to be the easiest “pet” to take care of. Once you get through the chick stage, grown chickens can be pretty self-sufficient, assuming you set yourself up for success. Therefore, let us look at just HOW you get through the chick stage, and HOW you can set yourself up for success!


Raising Chicks


PRE-REQUISITES


     Before we get into raising chicks, we first need to cover the pre-requisites. You’ll need some supplies in order to provide a sustainable environment for these fragile birds. Chicks need supplementary heat during the brooding phase. This phase typically lasts about 8 weeks. When you first bring home your baby chicks from the local hatchery or farm store, you’ll need a space (preferably indoors) to keep them. Often times, this is done in a small tank or tub with a layer of bedding - usually pine shavings or straw (clean this regularly). Included in your tank, you’ll need a feeder, a waterer, and a heat source.

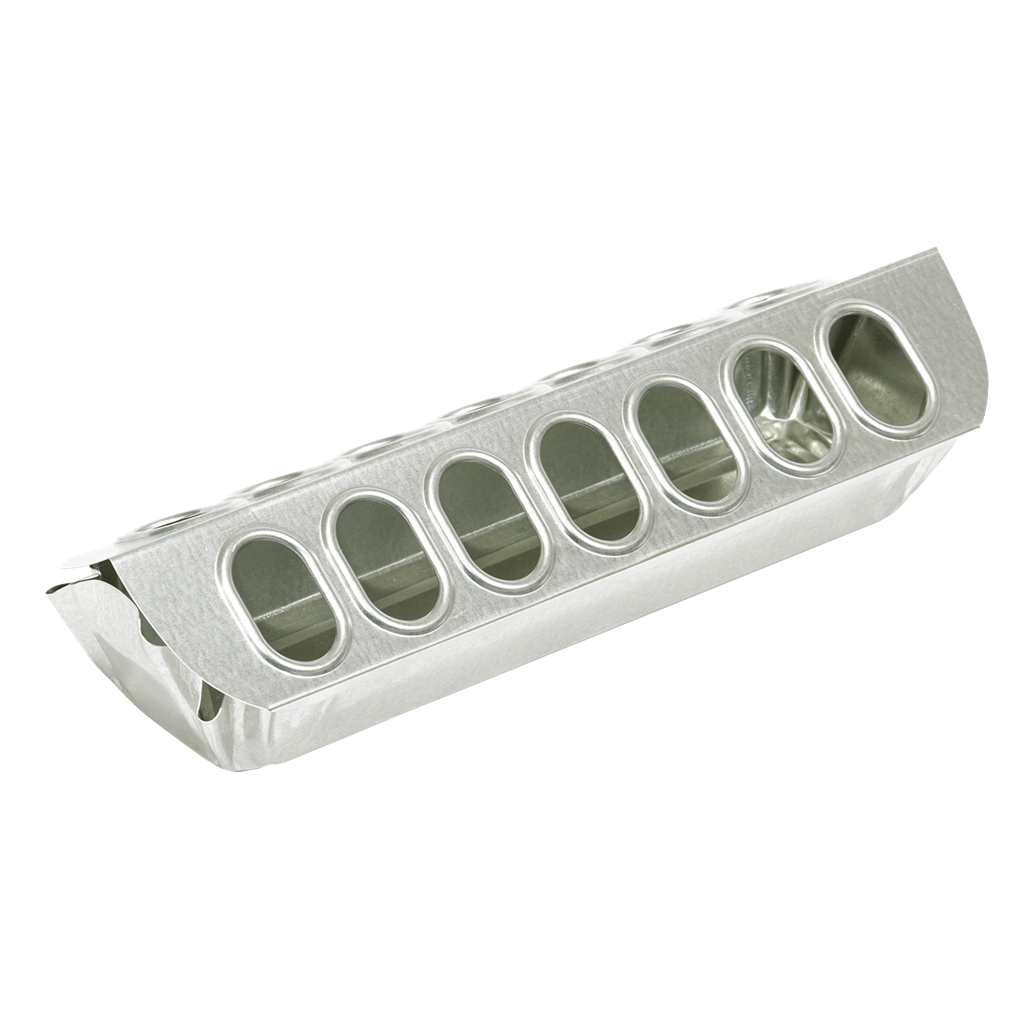
12" Metal Slide-Top Poultry Ground Feeder
MI9814

Learn More
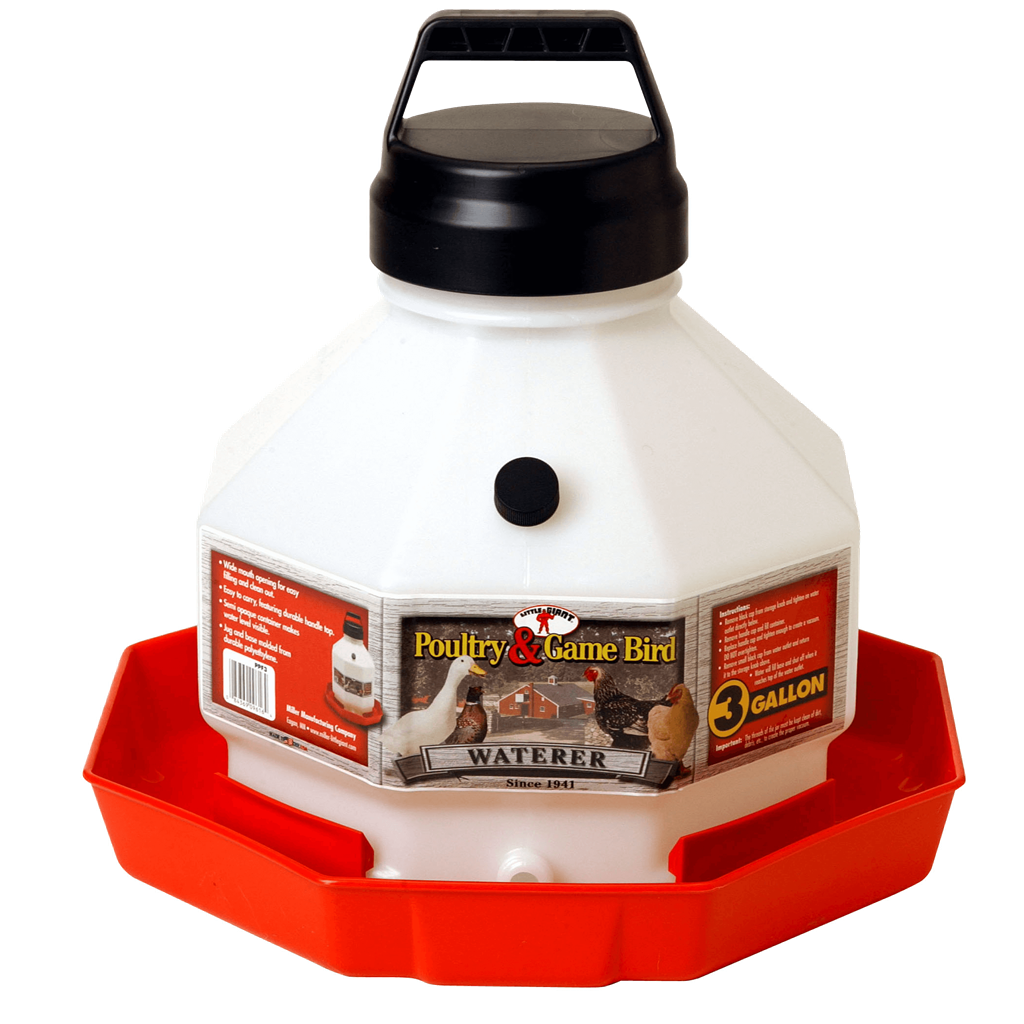
3 Gallon Plastic Poultry Waterer
MIPPF3

Learn More
BAYCO 10.5in BROODER CLAMP LIGHT
BCBA302PDQ4

Learn More

HEAT


     When you set up your brooder tank, you’ll need a heat source. The most popular method of providing supplementary heat is with a heat lamp hanging from one side of your tank. It is best to use a red bulb to protect your baby chicks’ eyes. For the first two weeks, the temperature in your brooder should be 90-95 degrees. You can monitor this by keeping a thermometer on the side of the tank with the heat source. After those first two weeks, you’ll want to decrease the heat output by 5 degrees each week. You’ll know if your chicks are too warm or too cold by monitoring their behavior. If they’re all huddled up under the heat lamp, they’re too cold. If they are all scattered around the edges of the tank, they’re too hot. In the ideal environment, your chicks will be roaming the tank freely.

FOOD


     For the first 5 months, (18 – 20 weeks) it is recommended that you feed your chicks a chick starter or grower to ensure that they are getting all of the protein, vitamins, and minerals that they’ll need to grow into strong, healthy chickens. If your chicks are unvaccinated, you may want to use a medicated feed to prevent coccidiosis, an infection in multiple parts of the intestinal tract that can lead to poor performance, loss of pigmentation, diarrhea, and even death in severe cases.

     Place your feed in a chicken feeder that provides easy access for all of your chicks to feed at once and doesn’t allow your chicks to get stuck. You’ll want to find a healthy balance between an open feeder that chicks can (and will) poop in and something that is too restrictive. In your brooder tank, place the food between your heat source and the waterer so that your chicks pass by their food every time they go to get water.

WATER


     Provide your chicks with fresh water daily, as they tend to soil it quickly. You can also provide electrolytes and probiotics in water that provide energy and aid in digestive health. You’ll want a chicken waterer that is low enough to be reached by your chicks and has enough room for all of them to drink at once. Keep your water away from your heat source and don’t be afraid to nudge them in the right direction if they can’t seem to find their water.

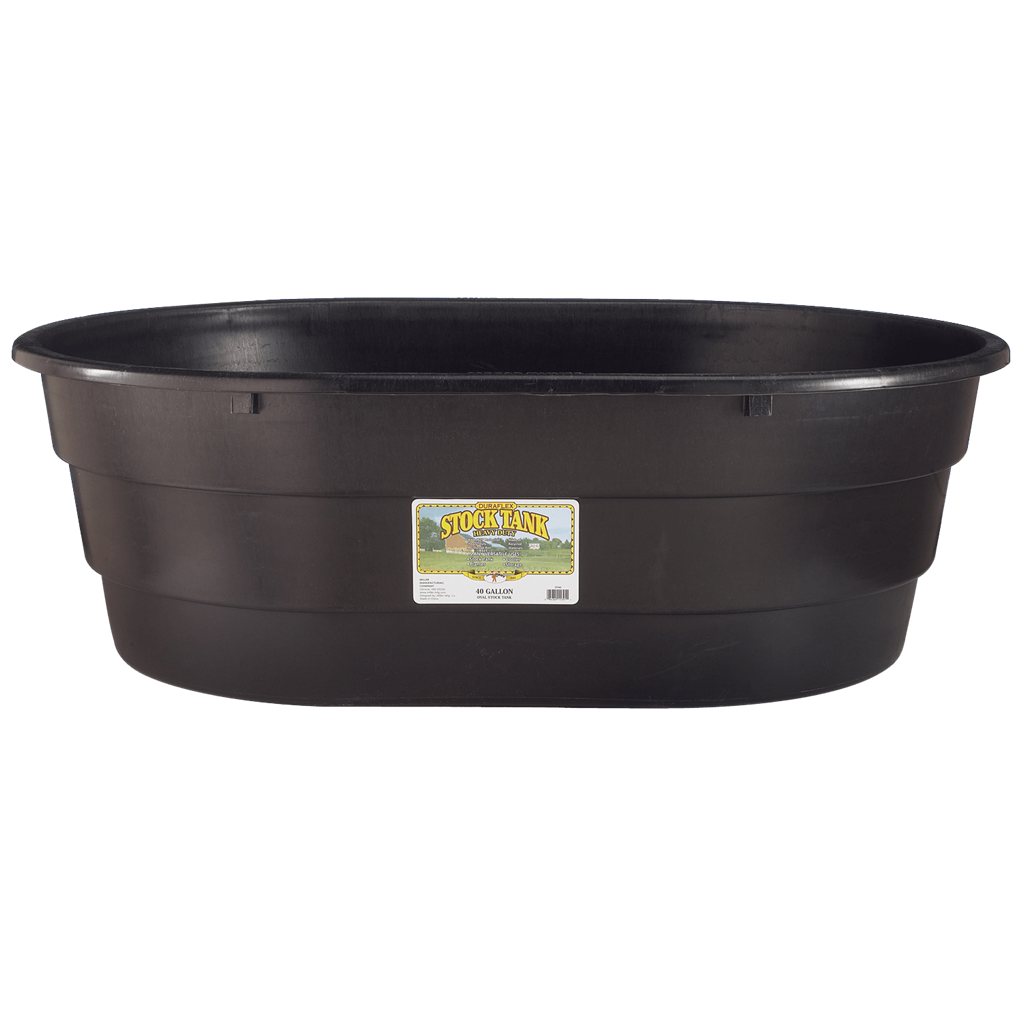
40 Gallon Poly Oval Stock Tank

Stock tanks, such as this, make a great brooding environment for new chicks. Simply fill the bottom layer with bedding and clamp your heat lamp on the side, as described above.

Learn More
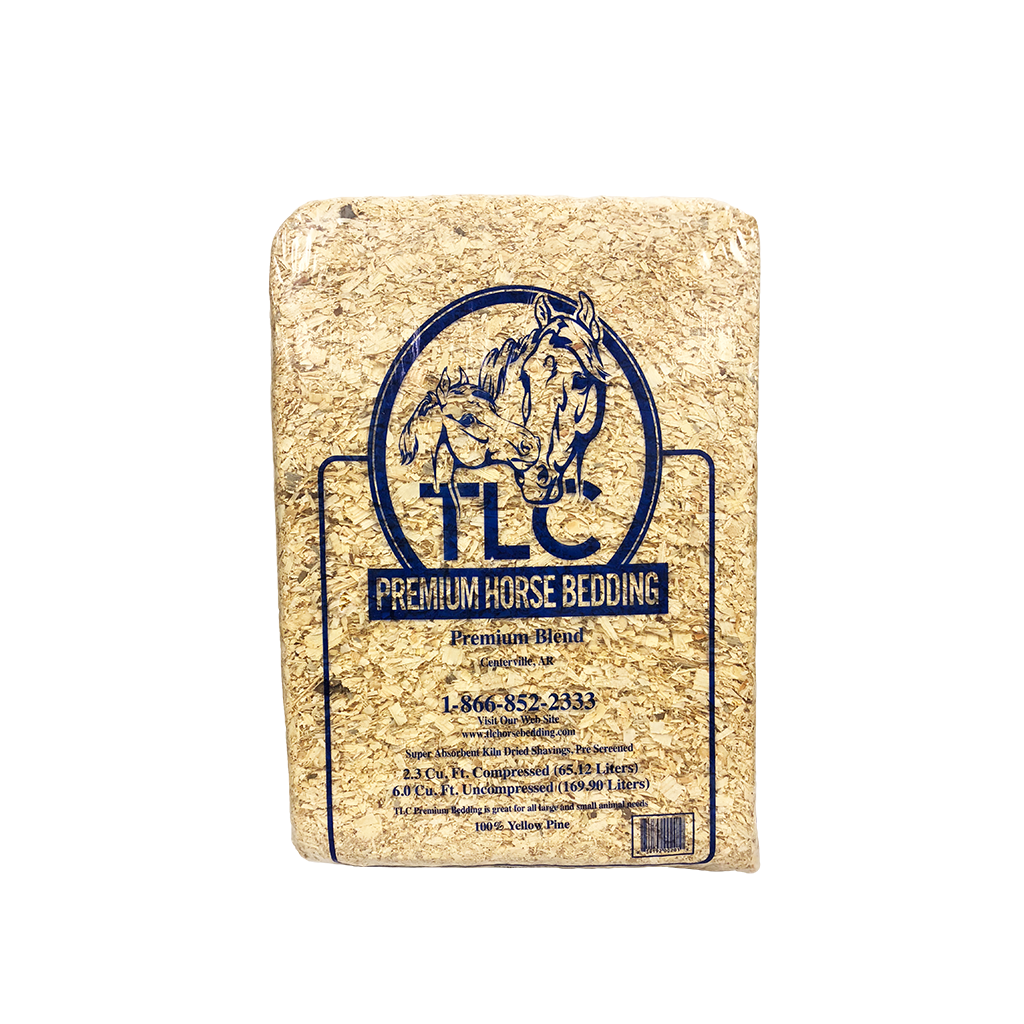
PINE SHAVINGS MED/FINE MIX -8 cubic ft

Pine Shavings make for fantastic chick bedding and odor control. There are a number of litter methods that we will cover in the next article on this topic, so be sure to check back!

Learn More
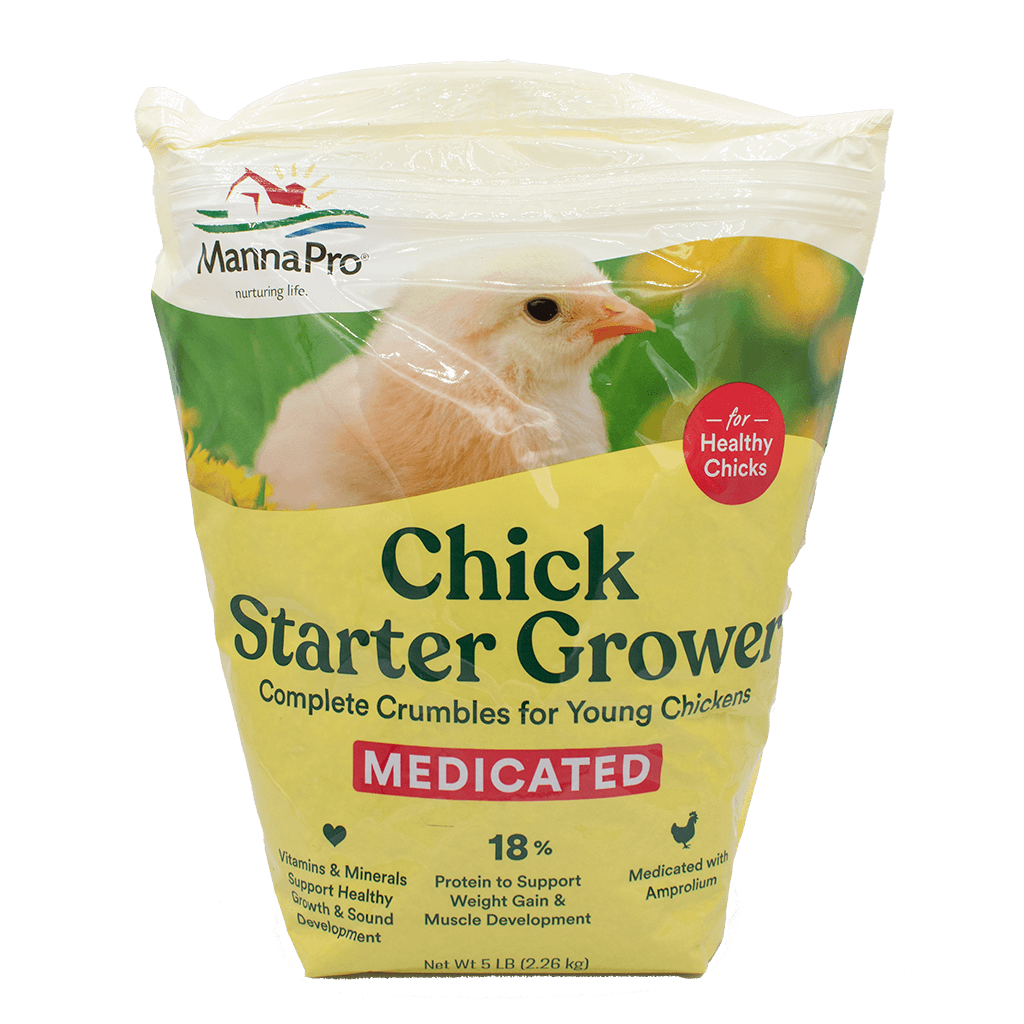
Chick Starter Grower Medicated Crumbles - 5lbs

Chick starter feed is essential to grow hapy, healthy birds. Packed with protein, vitamins, and minerals. Medicated with amprolium for unvaccinated chicks.

Learn More

CONCLUSION


     If you cover these basics, you’ll be well on your way towards happy, healthy chickens that can serve you and your family for years to come! Just keep their area clean, keep them fed and watered and monitor their heat and watch them grow! In a future article, we will talk more in depth about the different life stages of chickens, as well as the different breeds, coop setups, eggs, and more. Stay tuned!


Posts

2023 2022 2021 2020 2019 2018